GPT现在可以生成图像……
不知道怎么做?
这是我创建GPT内的图像的四步指南:
[? 书签,供以后使用]
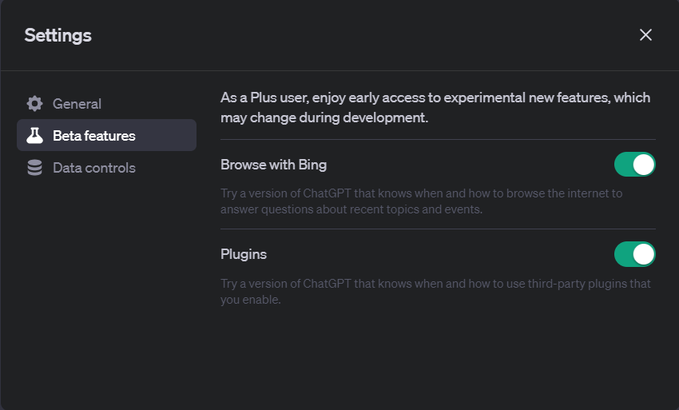
1/ 首先,让我们确保你的GPT插件已经被激活:
-点击左下角的三个点
-转到”设置”,点击”测试功能”
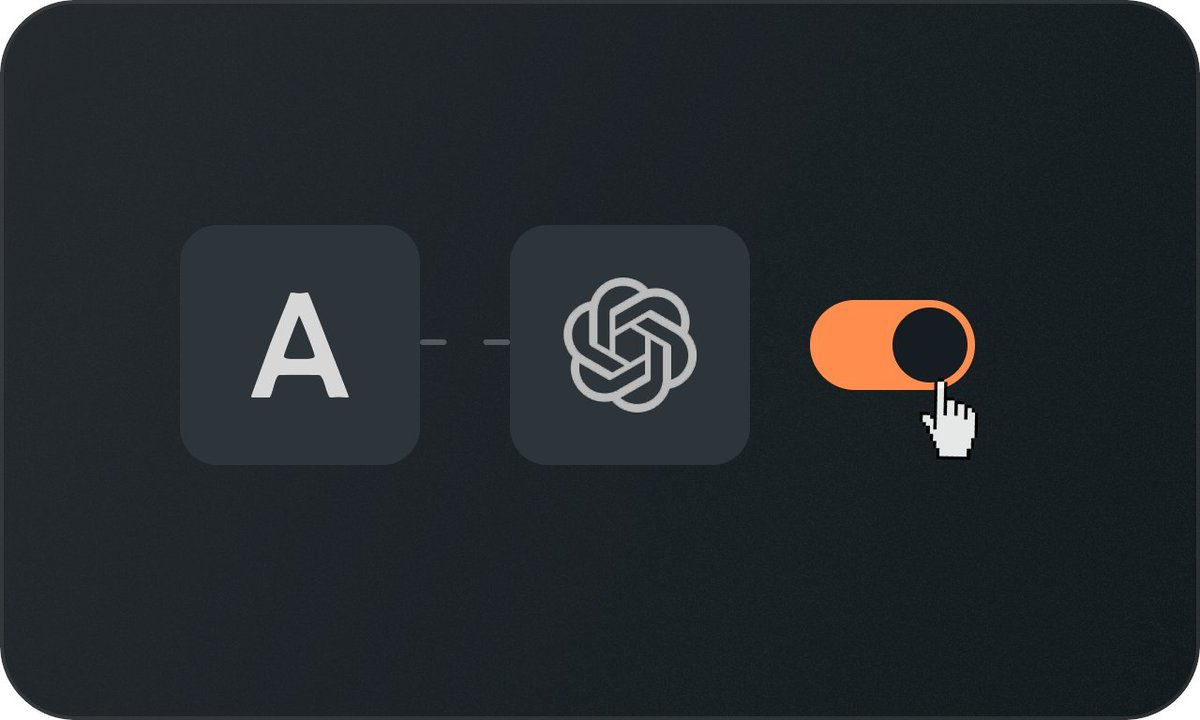
-激活插件
现在,这就是你如何使用它们来创建图像:
2/ 安装Argil AI
在插件商店中,安装”Argil AI”。
只需搜索一下就可以。
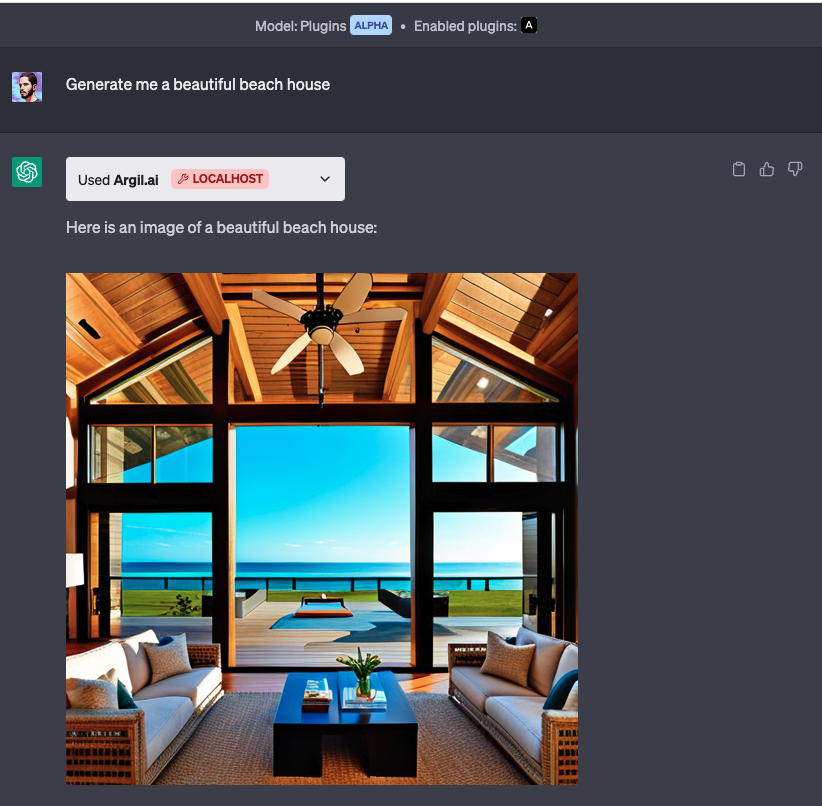
3/ 给它一个提示
解释你希望生成的图像类型…
就完成了。
示例:上传一篇文章的链接,并要求它来描绘这篇文章。
4/ API集成
使用第三方应用程序来简化你的工作流…
示例:将图像和文档导出到Notion。
加入我们

© 版权声明
文章版权归作者所有,未经允许请勿转载。

相关文章
暂无评论...

最专业、最全面的人工智能学习平台,提供最新的AI技术、AI设计、AI导航、AI做图、虚拟人等内容,让您全面了解人工智能技术领域的最新动态,AI学习入门必修都在这里!